|
|
|
CAPTCHA HOWTO |
|
|
|
|
|
|
|
Build 2.2.0.44
|

|
This is the official HOWTO on enabling CAPTCHAs on SAMLite |
|
|
Table of Contents
Configuration for Google reCAPTCHA
hCaptcha advanced configuration
Google reCAPTCHA advanced configuration
Introduction
A CAPTCHA is a Completely Automated Public Turing test to tell Computers and Humans Apart.
SAMLite v5 Build 2.2.0.44 supports Google reCAPTCHA v2 and hCaptcha to make automated login attempts more difficult.
For example when the CAPTCHA feature is enabled, in order for users to log in to SAMLite, a challenge may be shown and the user has to solve it in addition to providing the correct username and password.
CAPTCHA Sign Up
Sign up for hCaptcha
Go to: https://www.hcaptcha.com/
Click on Sign Up Now.
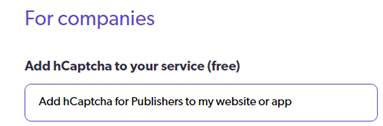
Select the Add hCaptcha to your service (free).
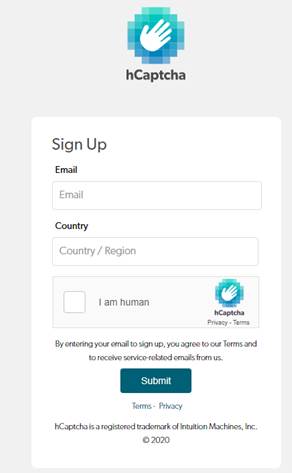
Enter your email etc, solve the CAPTCHA and submit.
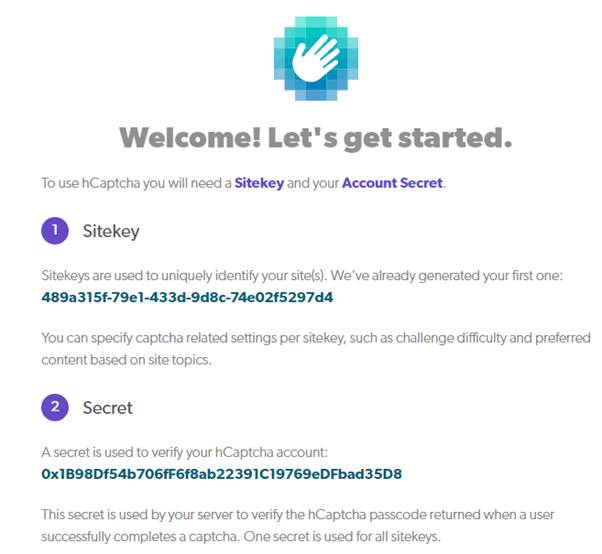
Copy the Sitekey and Secret. You will use these in the CAPTCHA Configuration.
Check your email for the email verification from hCaptcha and verify your email address.
Sign up for Google reCAPTCHA
Go to: https://www.google.com/recaptcha/
Click on AdminConsole.
Login to a suitable Google account or create one.
Click on the + to add a site.
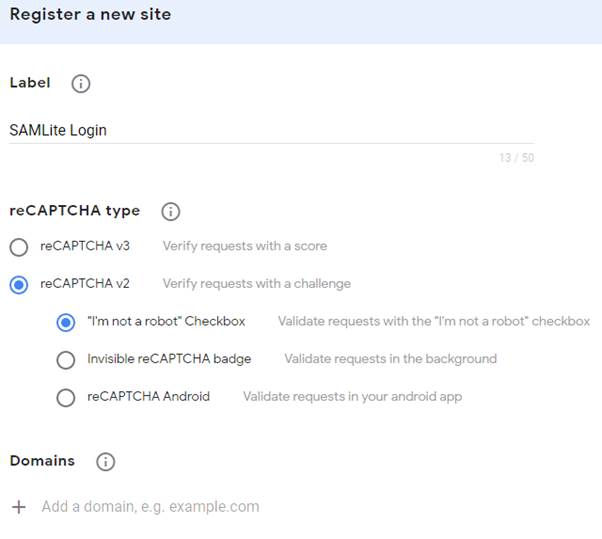
Fill in the details. Select v2 and I’m not a robot Checkbox.
If your SAMLite site has a DNS domain you can add the domain to the Domains list, otherwise add the IP address.
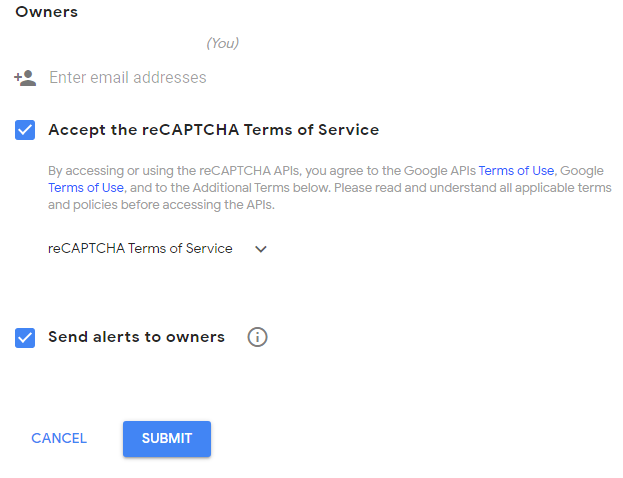
Add email address of additional managers/owners for this. If the Terms of Service are OK accept, and submit.
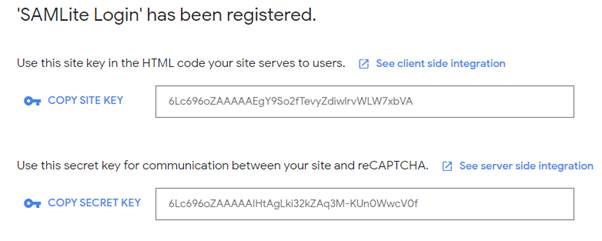
You should see the following:

Copy the Site and Secret key for use in the Configuration section.
CAPTCHA Configuration
Edit the SAMLite WebDash web.config file. Example:
Run: notepad "%ProgramFiles(x86)%\SAMLite\v5\WebDash\web.config"
Configuration for hCaptcha
Go to the appSettings section of the web.config file
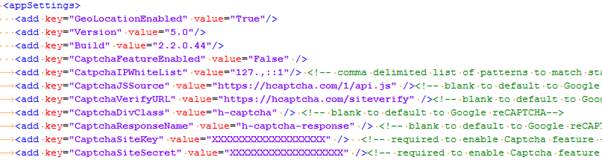
Change the CaptchaFeatureEnabled value from False to True
Replace the “XXXX…XXX” value for CaptchaSiteKey and CaptchaSiteSecret with the Sitekey and Secret values copied previously.
Configuration for Google reCAPTCHA
Go to the appSettings section of the web.config file
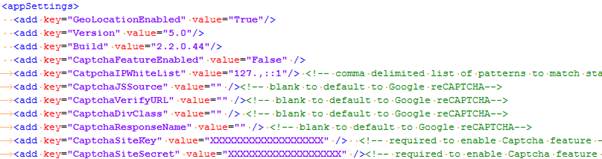
Change the CaptchaFeatureEnabled value from False to True
Replace the “XXXX…XXX” value for CaptchaSiteKey and CaptchaSiteSecret with the Site Key and Secret Key values copied previously.
Change the values for CaptchaJSSource, CaptchaVerifyURL,
CaptchaDivClass and CaptchaResponseName to an empty string e.g. value=””.
Or with updated values from Google (see advanced configuration).
IP Whitelisting
If there are IP ranges that should not get CAPTCHA challenges, you can add the patterns to match those IP ranges to the CatpchaIPWhiteList value. The patterns match the starting of the IP addresses.
For example if users logging in using IP addresses in 10.1.0.0 – 10.1.255.254 and 192.168.1.0/24 should not get CAPTCHA challenges change the CatpchaIPWhiteList value from “127.,::1” to “127.,::1,10.1.,192.168.1.”
The default value of 127.1,::1 matches the IPv4 loopback network address (127.0.0.0/8) and the IPv6 loopback address ::1
Advanced Configuration
hCaptcha advanced configuration
View the installation instructions, you may see something similar to the following:

In the web.config file update the CaptchaJSSource value with the script src if it is different.
Update the values for CaptchaDivClass with the div class name if they differ.
Update the values for CaptchaResponseName with the request.POST parameter name if they differ.
Update the values for CaptchaVerifyURL with the http.POST url if it is different.
Google reCAPTCHA advanced configuration
Click on See client side integration.
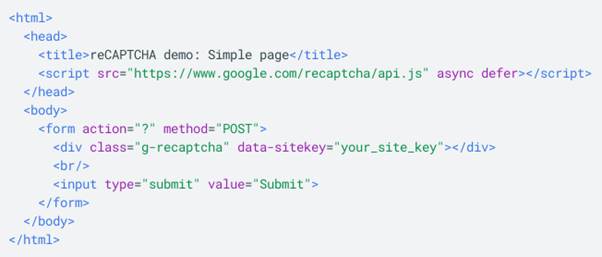
In the web.config file replace CaptchaJSSource with the script src if is not https://www.google.com/recaptcha/api.js
Replace CaptchaDivClass with the div class name if it is not g-recaptcha
Go back to the previous page and click on See server side integration

Replace CaptchaResponseName with the request.POST item name if it is not g-recaptcha-response.
Go to the API Request section.

Replace CaptchaVerifyURL with the http.POST url if it is not https://www.google.com/recaptcha/api/siteverify